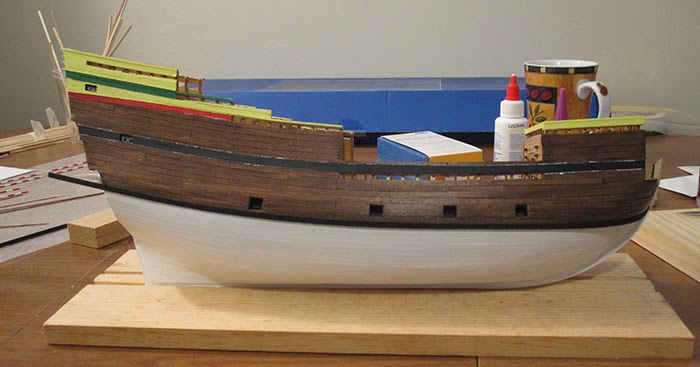
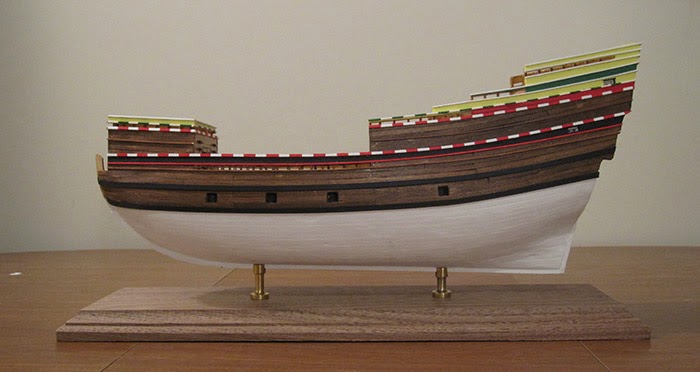
From this point on, it looks like there is only 1 thing where I'll need to access the ship from below (a few minor details on the beakhead), so with the painting all done and touched up, I decided to finish up the base and attach the model; this will make it much sturdier for working on it.
As you can tell, some of these pictures are from earlier stages of the build.
First test fitting on the stand:


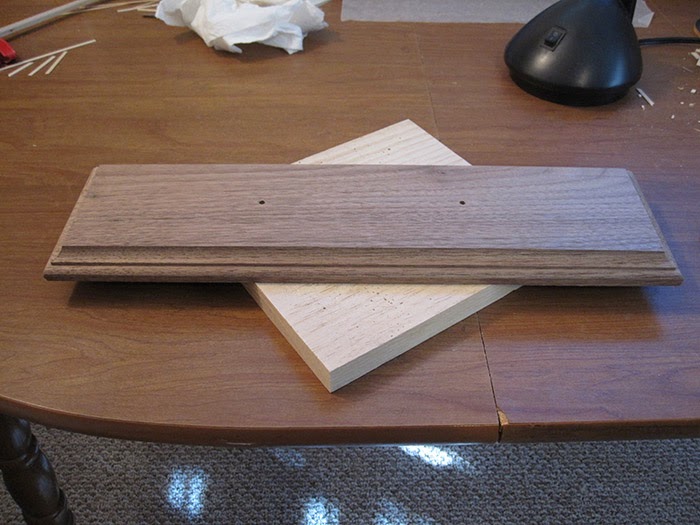
Drilling the holes for the screws which will hold it to the base.

I decided to stain the base using a Natural coloured stain rather than a darker colour. It did darken the wood slightly and bring out the grain, and gave it a nice look:


One last step before attaching the model to the stand - giving the hull a few coats of Polycrylic to protect it (it's the same idea as Polyurethane, but better for paint):


The model attached to the stand:


Next up is painting the emblem which will be attached to the stern of the ship; the kit came with a Britannia Casting (a type of metal) of the flower emblem. As with the other painting, the first step was to prime the metal and then proceed with the painting. For colours, I followed what was used in the pictures of the kit.

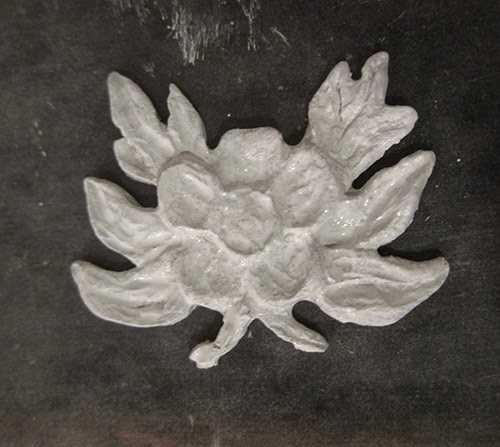


The emblem attached to the stern:


While waiting for the paint to dry on the emblem, I began to make the capstan (used by sailors to tighten the rigging, I believe). This will sit on the base on the main deck which I added way back. As with the emblem, there was a Britannia Casting included with the kit, but there were also instructions for making one out of scratch, which I decided to go with using some scrap wood I had sitting around.
First was cutting a short length from a wooden dowel to form the capstan drum.

Filing the bottom part of the capstan drum into a six-sided shape:

Drilling holes at the top (bars would be inserted by sailors to act as handles for turning the capstan):

About halfway up the capstan drum there is supposed to be a washer-shaped piece of wood, but after numerous unsuccessful attempts, I gave up (the wood was so thin, it kept breaking...).


The six pieces of wood (whelps?) that will be attached to the bottom of the capstan drum. If I had succeeded with the washer, these would have been basically cut in half with one piece below and one above the washer.

Glued to the base (which will sit on the other base):

The whelps added:

Test fitting on the deck - in the final model, this will be mostly hidden, as I will shortly be building the deck out over it:

Initial painting (I should have gone with a lighter brown for the centre and then used the dark brown for the whelps, instead of the other way around):

Attached to the deck: