This and the next post are going to be a smorgasbord of the various deck details, including kevels and pin rails, knight heads, railings, ladders and pumps. These were all created at the same time, and attached to the deck once they were all ready, but I've grouped the images by type below. Some turned out better then others... I'm not overly happy with how the ladders turned out, so might re-do them...
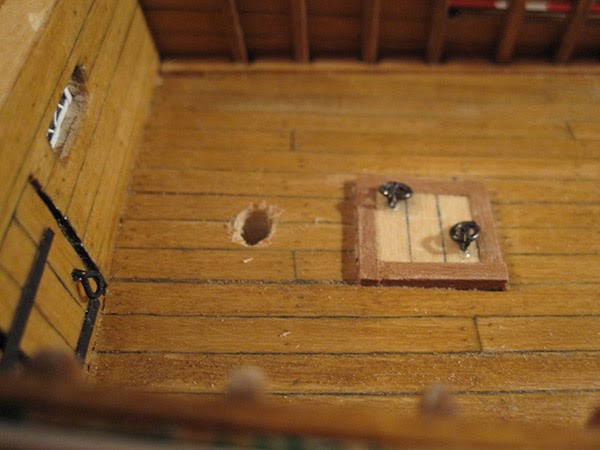
First up, some pictures of the mast holes I had drilled earlier (the 1st photo also shows the hinges attached to the hatch on the Quarter Deck):
The kevels and pin rails will be attached to the inner hull, and are used for attaching the various rigging .
The kevels are basically sturdier 'V'-shaped versions of pin rails, I think. The kit came with metal kevels, but the instructions suggested creating them from scratch, so I did.

The completed and stained kevels, after I used some wood filler to fill the gaps between where the wood fit together:
The hardest part of the pin rails was drilling all of the holes for the belaying pins. As you can see, it took a few tries to get it right...
All of the pin rails drilled and cut to length - after drilling the initial holes, I ran through each one with 2 different sized needles to make the holes large enough for the belaying pins. I had originally tried to drill the holes with a larger drill bit, but as you saw in the earlier picture, that didn't work too well.
Staining all of the pin rails, as well as some other deck fittings:
Once the stain was dry, I again ran through the holes with the needles to make sure they were still large enough.for the pins. There are not enough belaying pins to fill all of the holes (presumably the sailors move them as needed), so I put one everywhere the rigging plans said, and then the extras where they looked good.


The kevels and pin rails in place:


No comments:
Post a Comment